
Lara #
Changes to Lara #
- TombEngine has introduced several tweaks and changes to Lara to improve how responsive she is and extend her move set. Whilst the same controls apply: some adjustments do not compare directly to the classic games.
- Below is the code that needs to be in your SETTINGS.Lua file, located in the Engine/Scripts folder of your project.
local anims = Flow.Animations.new()

    --insert options found below here

Flow.SetAnimations(anims)
Crouch Roll and Turn #
TombEngine has restored the ability to roll whilst crouched down and turn Lara around when crouched. This was cut from Tomb Raider III and partially restored in Tomb Raider I-III Remastered.
- To perform the crouch roll: simply press the SPRINT key.
- To perform the crouch turn: simply press the ROLL key and Lara will turn around 180 degrees.
-- Insert into Settings.Lua as shown above.
anims.crouchRoll = true
Extended Crawling #
- Lara can crawl up and down from a 1, 2 or 3-click height.
- Camera improvements have been made when Lara is in her crouch state to allow the player to have a smoother experience than in the classic games.
-- Insert into Settings.Lua as shown above.
anims.crawlExtended = true
Ledge Jump #
- Lara can jump up a 4-click height from hanging down and also perform acrobatics to turn around and jump to a ledge behind her from hanging.
- To perform the jump up from hanging: make sure Lara is hanging off an edge and press the JUMP button.
- To perform the jump back: press JUMP+DOWN whilst hanging.
-- Insert into Settings.Lua as shown above.
anims.ledgeJumps = true
Monkey-Swing Changes #
- Lara will now automatically jump down at the and of a monkey-swing section if there is ground for her to land on within range.
-- Insert into Settings.Lua as shown above.
anims.monkeyAutoJump = true
AFK Pose #
- In the classic games: if the player left Lara unattended: she would just stand on the spot. Now she will pose with her arms crossed as though she is waiting for the player.
-- Insert into Settings.Lua as shown above.
anims.pose = true
Sprint Jump #
- Lara can jump whilst sprinting for a short time which allows her to cover a large gap. Whilst this is fairly unrealistic: it has been included as it was requested.
-- Insert into Settings.Lua as shown above.
anims.sprintJump = trueDog #
- OCB 0: Attacks player when triggered.
- OCB 1: Starts frozen (laying down like statues). Trigger to wake them up.
Dragon (TR2 Boss) #
- Place “DRAGON_FRONT” for full dragon.
- OCB 0: Will die when health reaches 0
- OCB 1: Will regenerate health until the Dagger of Xian is pulled from stomach (original behaviour).
- Any pickups placed on the same sector as the Dragon will be given to the player once the dragon is killed.
- You will need to use the provided download found here
- Used in conjunction with Marco Bartolli
Enemy Jeep (1.5) #
The enemy jeep from TR4 has been re-implemented into TombEngine but the setup has changed. It requires the use of AI_X1 and AI_X2 objects and the OCB is set for these objects depending on what is required.
AI_X1:
- Place the objects in the map and change the OCB, in order from 0 to 31 and the jeep will follow.
AI_X2:
- OCB 1: Drop grenade.
- OCB 2: Fall down a hole. (change animation and states for fall distance)
- OCB 3: Jump over pit
- OCB 4: Wait until player is near.
- OCB 5: Disappear.
- OCB 6: Activate heavy trigger.
- OCB 7: Alternate Fall down a hole (change animation and states for fall distance)
- OCB 8: Jump pit (change animation and states for customisation).
Enemy Jeep Object:
- OCB 0: Will not continue unless player is in a vehicle.
- OCB 1: Will continue regardless of whether the player is in any vehicle.
Guardx, SWAT and SWAT Plus #
- OCB 0: Default.
- OCB 1: Reload
- OCB 2: Door Kick
- OCB 3: Rappel Down Rope
- OCB 4: Sleeping
- OCB 5: Rappel Down Rope (Fast)
- OCB 6: Wait On Wall
- OCB 7: Use Computer
- OCB 8: Start Hunt Stop
- OCB 9: Use ID_COMPUTER_SCIENTIST
- OCB 10: Idle
- OCB 11: Run
Hitman #
- Use the room flag “No Lens Flare” and he will suffocate. The behaviour for this is that he will first try to escape, then suffocate if he cannot. Use the “Set Box Sector” flags on all doors to prevent escape.
- Set the room type to “Water” and he will electrocute himself.
IMP #
- OCB 1: Climbs up when triggered.
- OCB 2: Rolls on the floor when triggered.
- OCB 3: Attacks player with rocks when triggered.
- If the player is holding a lit torch or throws the lit torch towards the imp: they will run away scared.
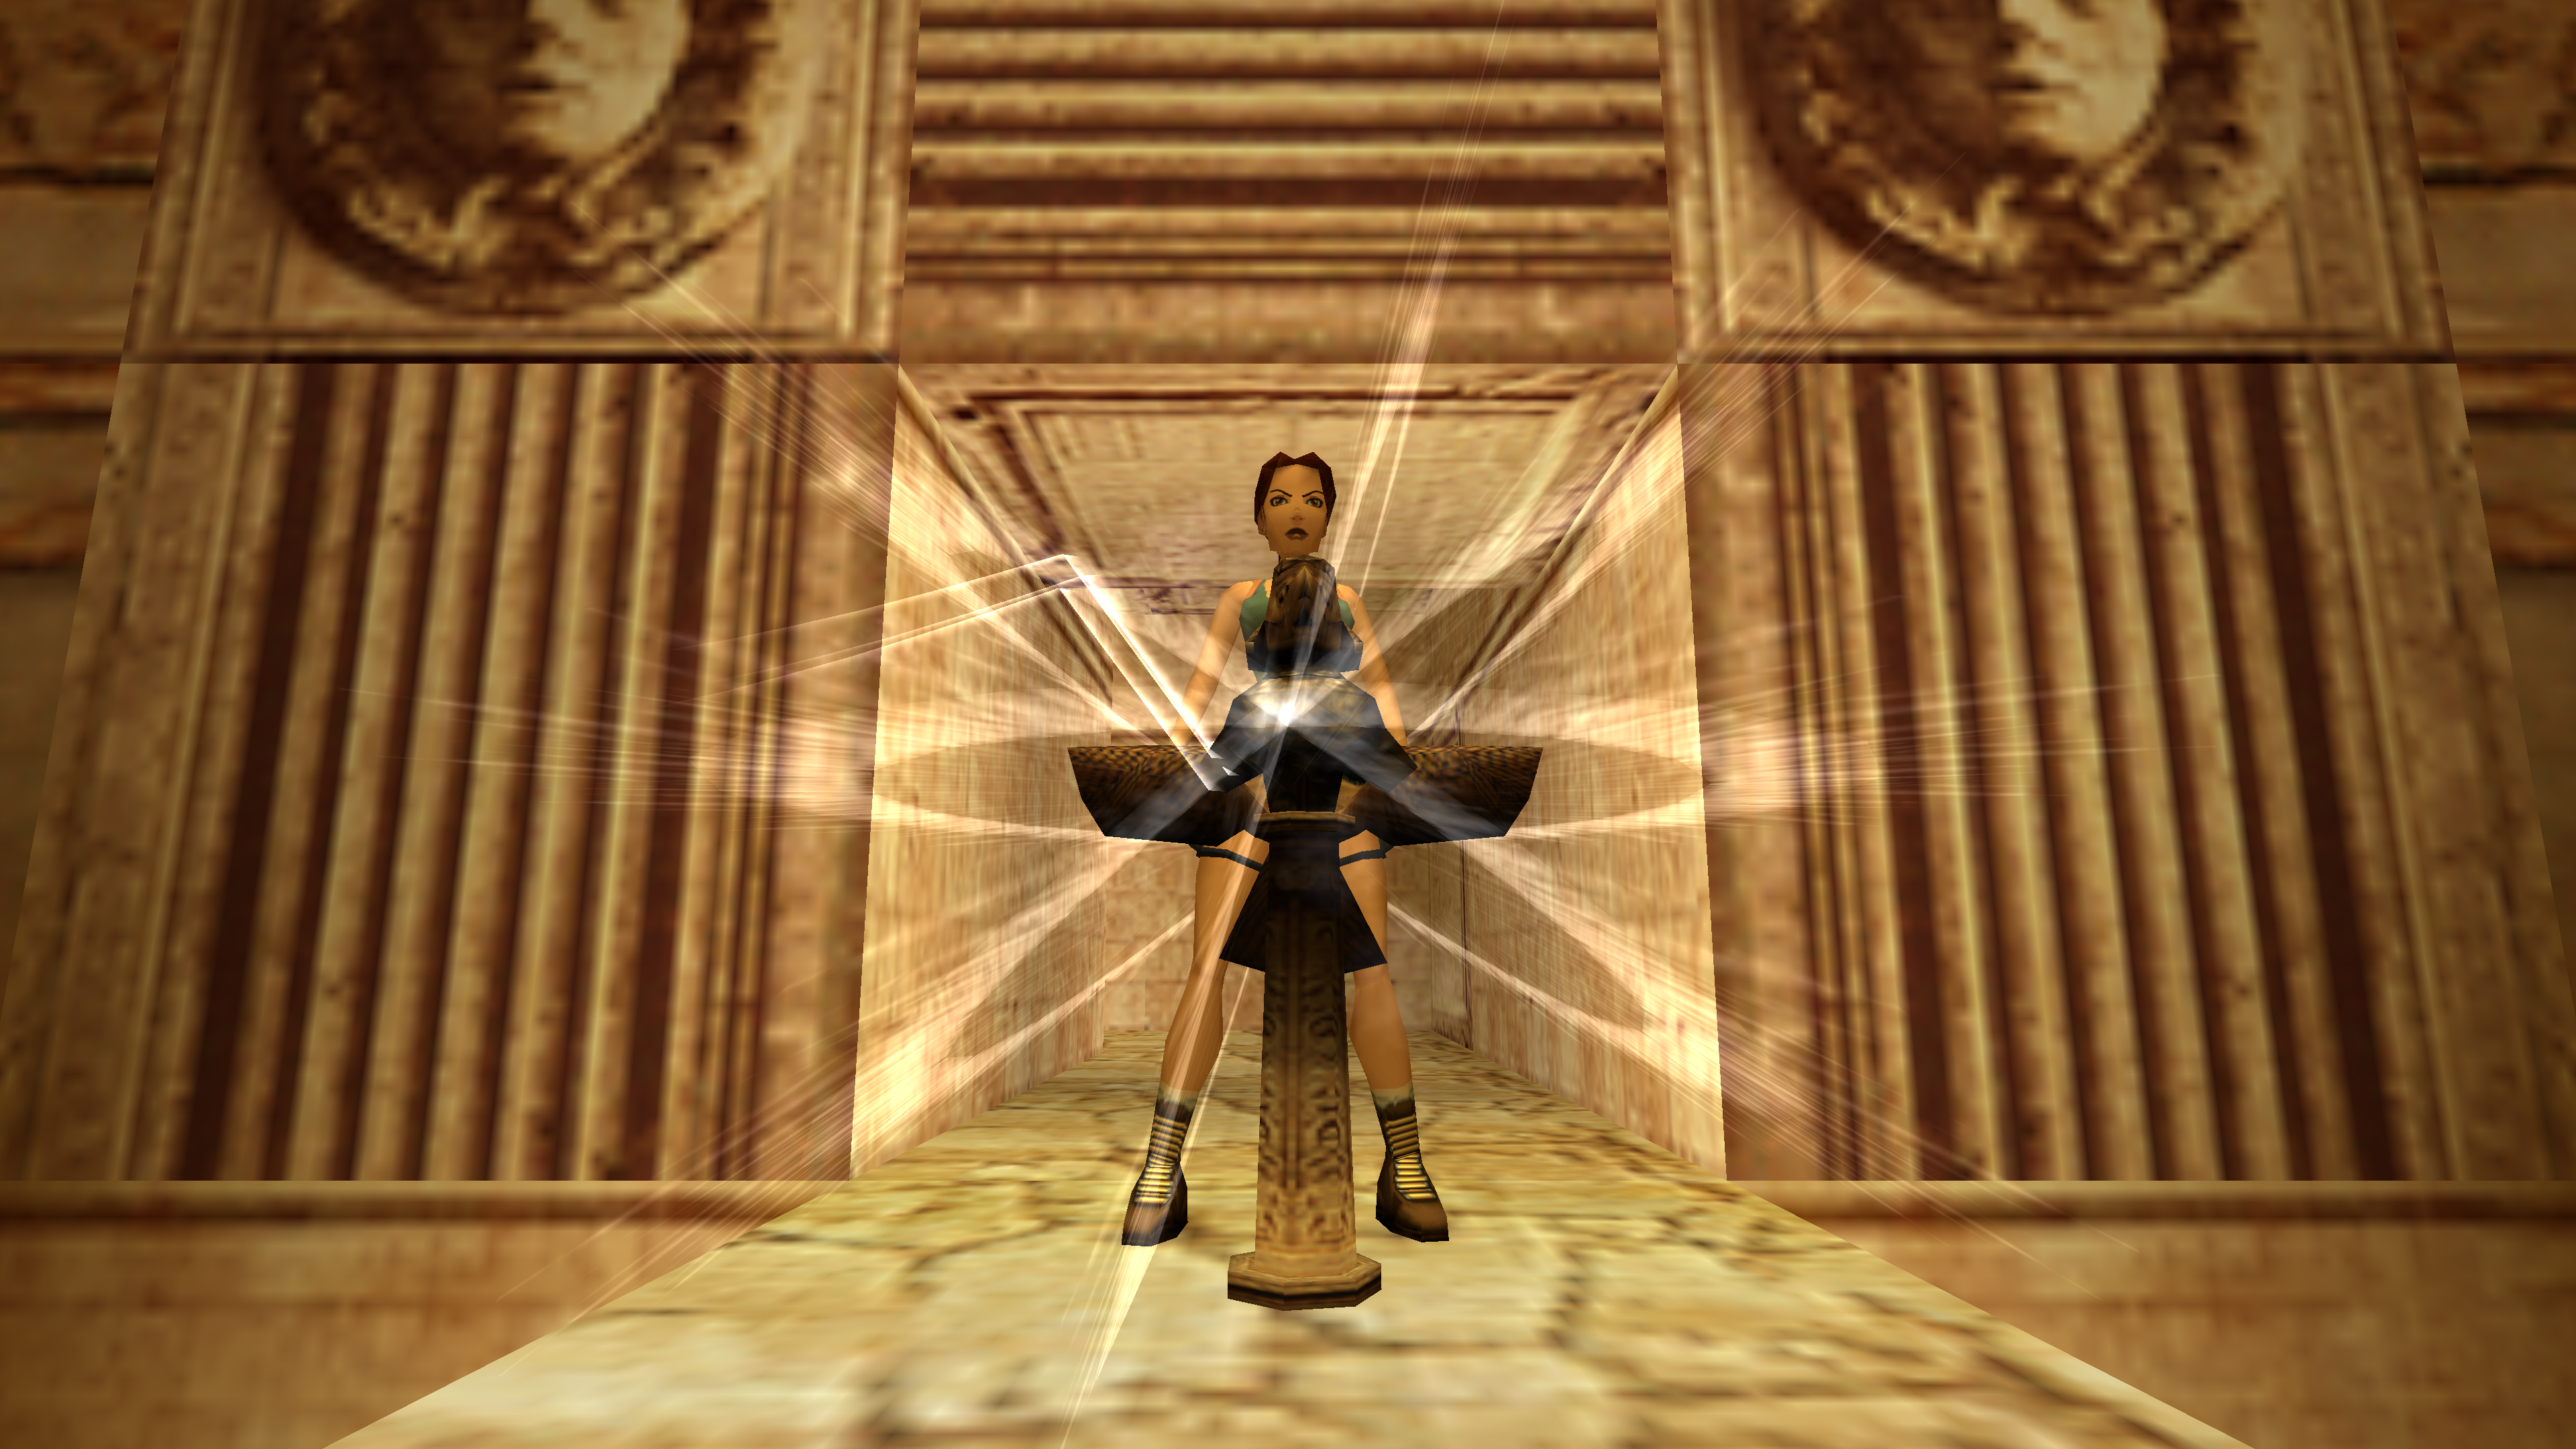
Marco Bartolli (TR2 Boss) #
- Trigger Marco and he will start to transform.
- Place a HEAVY trigger underneath the sector where Marco is and he will activate it once transformed.
- Transformation is made up of three objects and play in sequence. These can be modified via setting the ItemFlags:
--First, we will create a function for the amendments we want for Marco Bartolli's transformation:
function marcoTransform()
	local marco = GetMoveableByName("marco_bartoli_410") -- Get which Marco Bartolli object you are reffering to.
-- The next section is where we are defining 3 different values. The explosion timings are measured in frames:
	local explosion1 = 10 -- Explosion 1
	local explosion2 = 100 -- Explosion 2
	local explosion3 = 120 -- Explosion 3
-- Finally we will change the code to amend for our own timings.
	marco:SetItemFlags(explosion1,1)
	marco:SetItemFlags(explosion2,2)
	marco:SetItemFlags(explosion3,3)
end

-- Now we have the function, we can ask the engine to run it when the player loads the level.
LevelFuncs.OnStart = function()
	marcoTransform()
end
-- code: Stranger1992. 19/03/24Puna #
- This boss requires no particular setup.
- To spawn the Lizards (supplied in the download): simply place in the map without a trigger.
Raptor #
- OCB 0: Classic behaviour
- OCB 1: Raptor can jump up to 4 clicks and across a gap up to 2 blocks wide.
- Please download the TEN version.
- New animations by Gecko.
Roman God 1 / Roman God 2 #
- OCB 0: Hammer God mode. Uses a powerful hammer attack.
- OCB 1: Sword God mode. Fires a bolt of homing energy at Lara.
Seal Mutant #
- OCB 0: Normal behaviour. Will approach Lara and poison her and then crawl away.
- OCB 1: Trap mode. Used as a jump scare. Will die when triggered.
- Please download the TEN version.
Sphinx #
- OCB 0: Waits until the player approaches before charging.
- OCB 1: Charges towards the player when triggered.
Sophia Leigh #
- OCB 0: Normal mode. Sophia behaves like a regular enemy.
- OCB 1: Tower Mode. Her behaviour matches Tomb Raider III. Invincible unless triggered to be killed.
- OCB 2: Tower Mode with Volumes. Same as Tower Mode but Sophia’s ascent can be controlled using volumes in Tomb Editor.
- Please note that you need to use AIX1 null-meshes.
Winged Mummy #
- OCB 1: Start off flying when triggered.
- OCB 2: Start as a mummy when triggered.
- OCB 4: Start posed.
- OCB 8: No Wings.
- OCB 16: Disable Bomb Attack.
- OCB 32: Disable Shard Attack.
Wolf #
- OCB 0: Attacks player when triggered.
- OCB 1: Starts sleeping. Trigger to wake them up.
Keys #
Multi-use Keys #
- To enable multiple usages, simply set the trigger type of the keyhole object as “Switch“.
- OCB 0 – play default animation and lose key.
- Positive OCB: play animation number and keep key.
- Negative OCB: play animation number and lose key.
Underwater Keys #
This feature will be available in a forthcoming update.
- Keys can also be used underwater using the same setup.
- As stated above: if you want the player to keep the key: you must use OCB 99.
- If you don’t want the player to keep the key: use OCB -99.
- You must update your LARA object here
Pickups #
- OCB 0: The pickup is on the floor.
- OCB 1: The pickup is in a hole in the wall.
- OCB 2: The pickup is attached to the wall (crowbar needed).
- OCB 3: The pickup is on a high pedestal.
- OCB 4: The pickup is on a low pedestal.
- Add 64 to the OCB for it to trigger a pickup trigger on that square.
- OCB 128 regenerates ammo item once depleted.
- OCB 256 removes all items from the level of the same type once picked up.
- Please note that if you place a pickup on top of a pedestal static object: the object being picked must be in the same X and Z position as the pedestal.
Puzzles #
Updated 6th February 2025
Multi-use Puzzles #
- To enable multiple usages, simply set the trigger type of the puzzle-hole or puzzle-done object as “Switch”.
- Can be mixed with puzzle done and puzzle holes of the same or different type.
Underwater Puzzles #
This feature will be available in a forthcoming update.
- Puzzles can also be used underwater using the same setup as described above.
- You must update your LARA object here
Statue Plinth (TR4) #
As seen in the final level from Tomb Raider 4.
This object works as a normal puzzle but the player can put the statue on top from any side , rather then standing directly in front of it.
The object consists of two meshes:
- Mesh 0: plinth
- Mesh 1: statue.
Setup:
- Place object on tile and use KEY trigger.
- ItemFlag[0]: animation frame the object appears on plinth. Default is frame 45.
- OCB 1 – 16: Puzzle item slot used for the object. Default is PUZZLE_ITEM1.
- Use global meshswap nodes to swap the meshes for different objects if required.
Switches #
Generic Switches #
- OCB 0: Wall Lever
- OCB 1: Small lever
- OCB 2: Small button
- OCB 3: Big Button
- OCB 4: Giant Button
- OCB 5: Valve
- OCB 6: Reach In Hole
- OCB 7: Lua Switch. Use this OCB on a switch where you want to have two custom animations. Use in conjunction with
ItemFlag[4]for the ON animation andItemFlag[5]for the OFF animation:
--First, we will create a function for the amendments we want for this new custom switch:
function customisedSwitch()
	local customSwitch = GetMoveableByName("lever_switch_40") -- Get which switch you want to add custom animations to.
-- The next section is where we define the two animations
	local switchOn = 100 -- Lara's Animation number
	local switchOff = 200 -- Lara's Animation number
-- Finally we will change the code to link up the animation changes to the switch.
	customSwitch:SetItemFlags(switchOn,4)
	customSwitch:SetItemFlags(switchOff,5)
end
-- Now we have the function, we can ask the engine to run it when the player loads the level.
LevelFuncs.OnStart = function()
	customisedSwitch()
end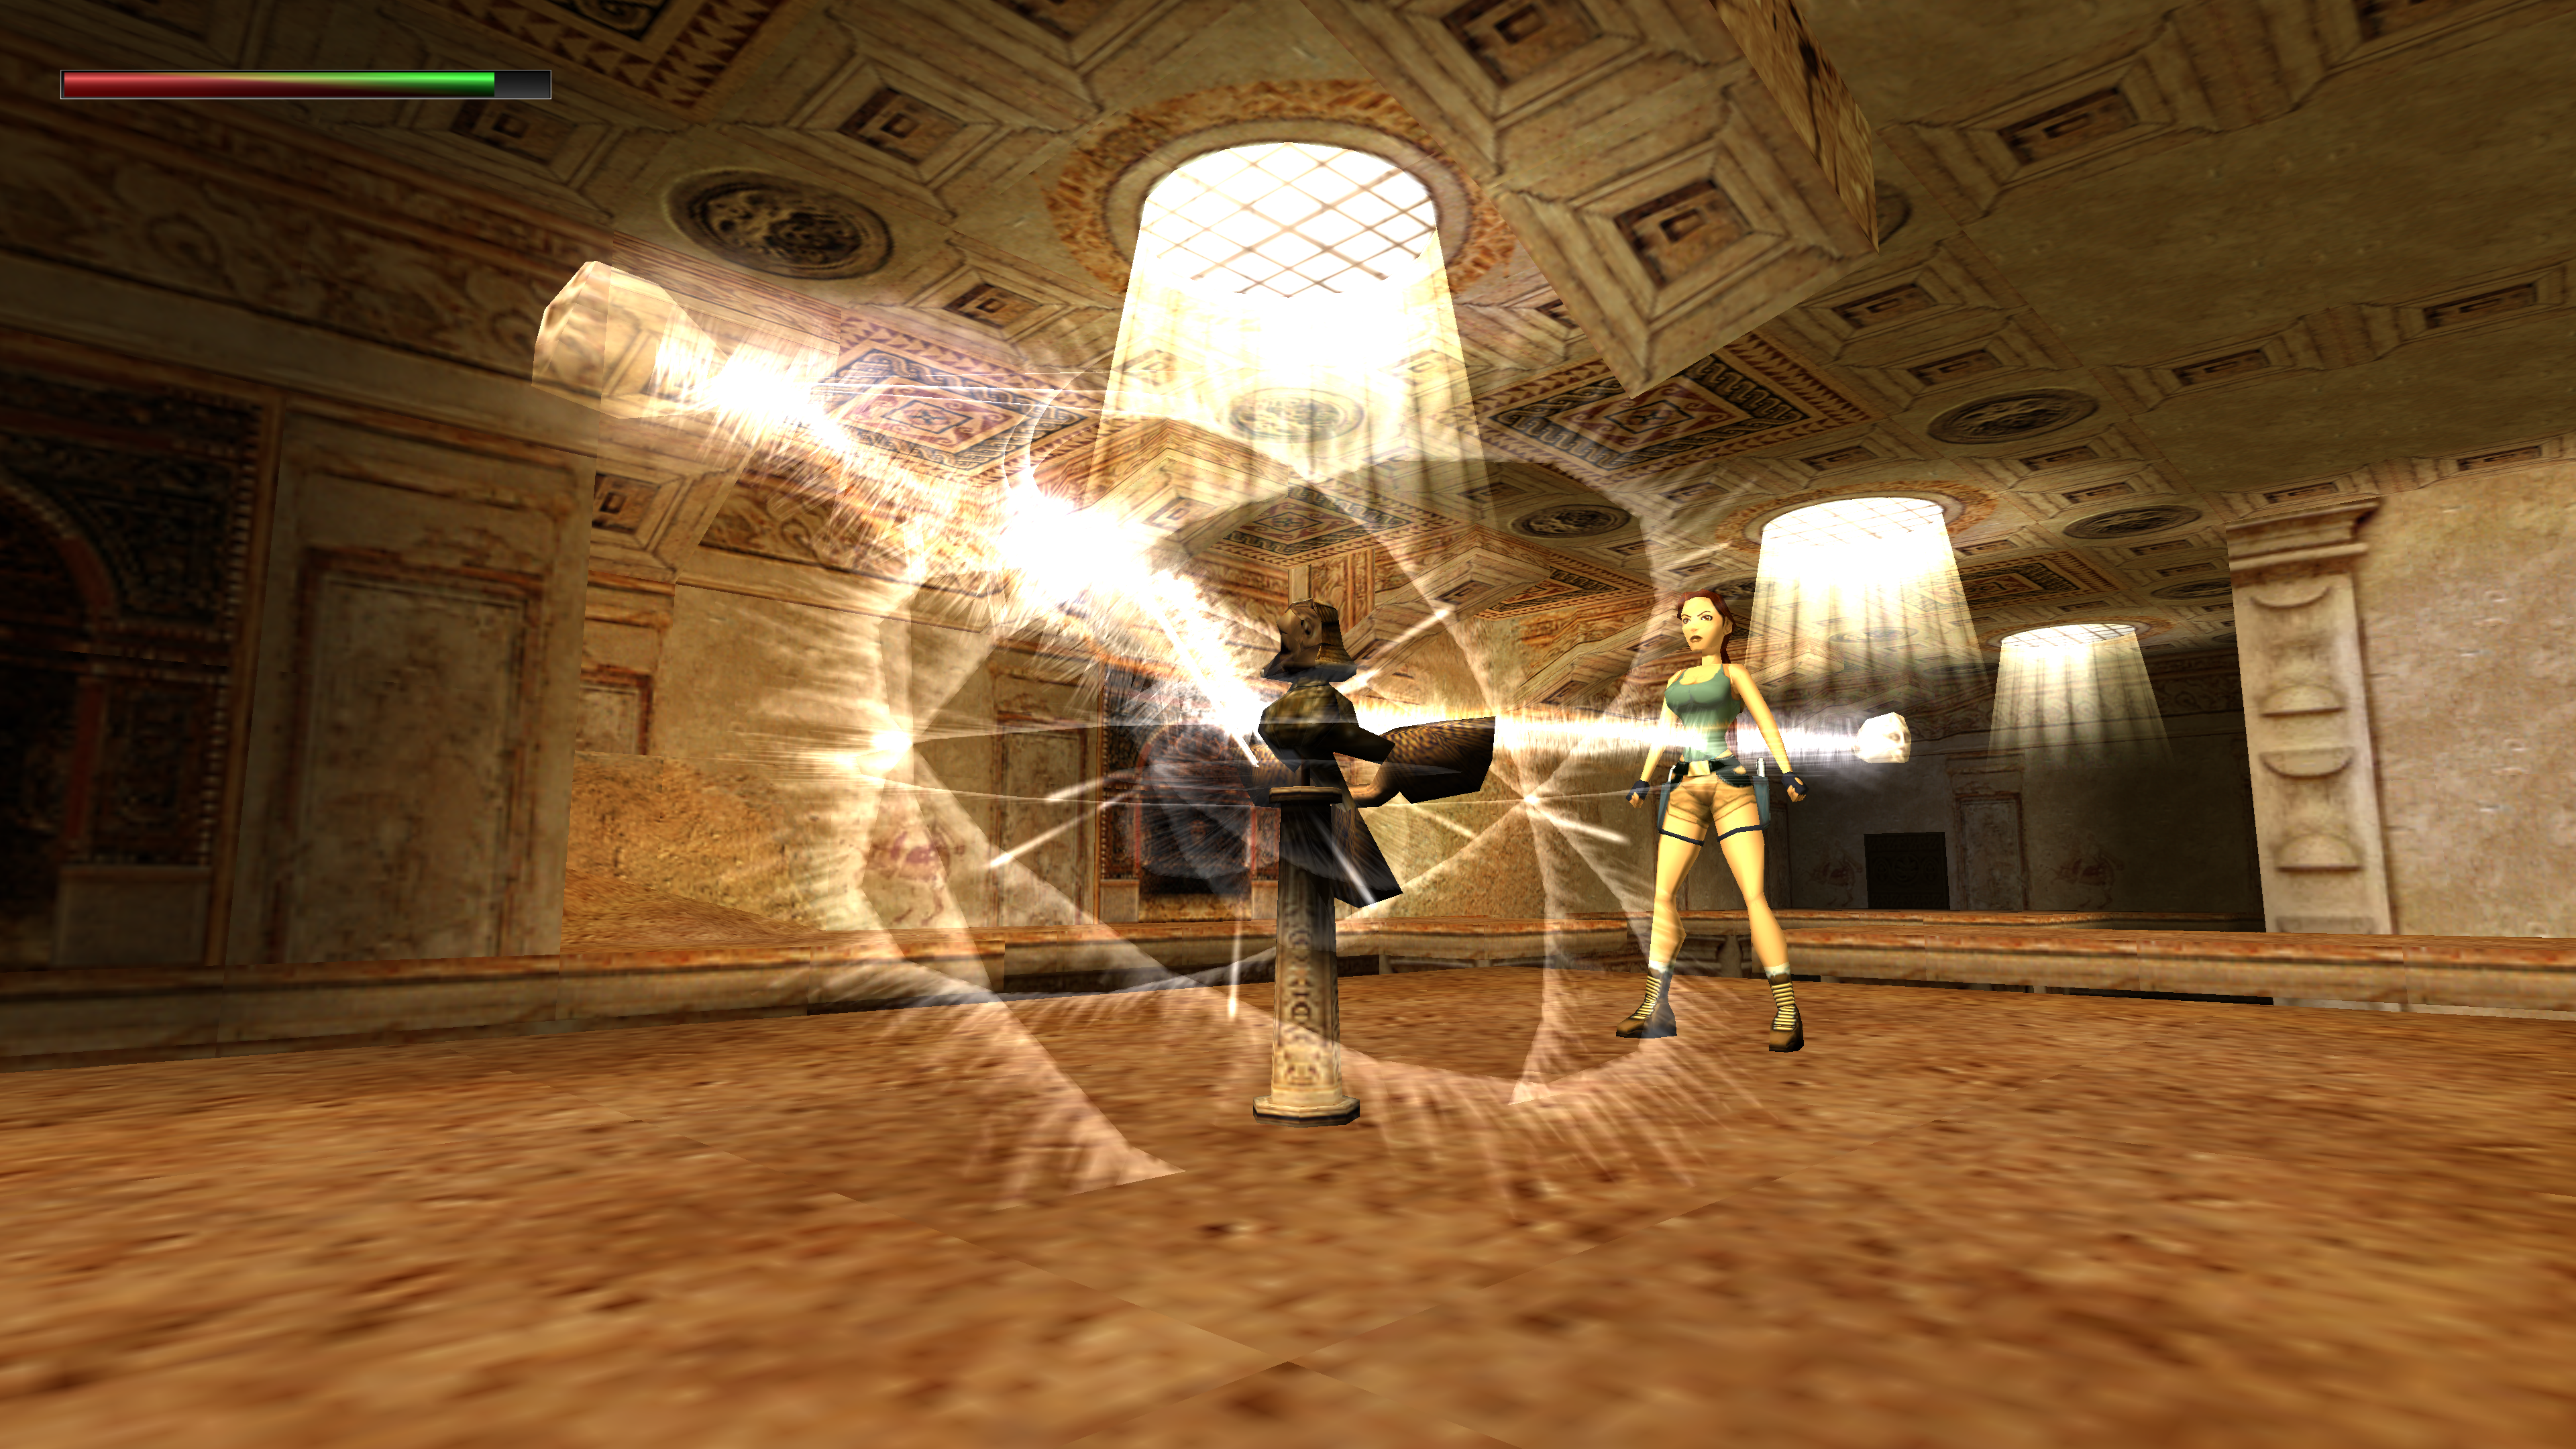
-- code: Stranger1992. 19/03/24- OCB 9: Pry out of the wall with the crowbar.
Users can assign custom animations to a switch:
- OCB = Animation number for “on” animation
- OCB + 1 = Animation “off” number.
Please note that you must use the versions provided on this website HERE. There were changes made to the switches during development.
Cog Switch #
- Use OCB 0 to have the traditional behaviour.
- Use any other OCB to can use the Cog Switch without need of any door linked.
Shoot Switch 1 #
- Set all
code bitsON (click the object and press theokey ) to activate a heavy trigger placed underneath the switch. - Alternately use a SWITCH trigger below to activate triggers when shot.
Shoot Switch 2 #
- OCB 444 – Shatters when shot.
Shoot Switch 3 or 4 #
- Same as SHOOT_SWITCH1 but has no shatter effect.
TNT Detonator #
To use the TNT Detonator from TR2 and TR3: It requires a specific setup and a function in Lua.
- Use OCB -577 on the PUZZLE_HOLE2 so that the animation will play.
- Use the below code:
-- In LevelFuncs.OnStart()

function TNTReset()
	    local laraAnim = Lara:GetAnim()
	    local laraAnimFrame = Lara:GetFrame()

	    if laraAnim == 577 and laraAnimFrame == 156 then
	        Lara:SetAnim(103):SetState(2)
	    end
	end

-- In LevelFuncs.OnLoop()

TNTReset()
Please use the download below.
Interactives #
Bridges #
- This object can be positioned freely without requiring any specific trigger beneath it. It also can be rotated and adjusted in real-time through Lua. Additionally, any items placed on a moving platform will be transported along with it.
- The surface that the player can stand on is taken from the bridge object’s collision.
- The only condition is that pickup must be activated (1-5 bits set in the edit object window or manually activated).
Corpse #
Updated 11th March 2025
- OCB 0 for a carcass that is eaten by the Compsognathus dinosaur.
- OCB 1: Hangs in the air as if used as bait and will fall if shot.
- Enhance effect with the FIREFLY_EMITTER
- Please note you must use the patched version found here.
Color/Pulse/Strobe Light #
- The light colour is chosen in Tomb Editor by changing the object tint.
Earthquake #
- OCB 0: shake until untriggered
- OCB 333: 16 seconds of rumble sound without shaking
- OCB 888: 5 seconds of rumble and shake.
- Any other positive OCB: same behaviour as 888, but with OCB indicating shake timeout in seconds
- Any negative OCB: same behaviour as 333, but with OCB indicating rumble sound timeout in seconds.
Electrical Light #
- The light colour is chosen in Tomb Editor by changing the object tint.
- OCB + (mesh number) allows light to behave like a neon light.
- OCB – (mesh number) makes the light flicker.
Propeller #
PROPELLER_H / PROPELLER_V
- This object doesn’t have any particular setup., other than to be triggered.
- Generates an automatic current that pushes the player away.
- Can be used underwater or on land.
Ropes #
- OCB 0: Straight when triggered.
- OCB -1: Coiled and folds out when triggered.
Firefly Emitter #
OCB Values
- Positive OCB: fireflies with a lighting effect
- Negative OCB: swarm of flies with a small dark streamer effect.
- The maximum value of the area is 8 (BLOCKS).
ID_FIREFLY_SPRITES:
- Sprite #0: fireflies
- Sprite #1: flies
Spawn Amount
- The hitpoints are the number of fireflies/flies.
Effect Customisation
Use itemFlags to customise the effect further:
For FIREFLY_EMITTER:
- ItemFlags[1] = 0: turn on light (default)
- ItemFlags[1] = 1: turn off the light effect of the fireflies (those with positive OCB)
For CORPSE:
- ItemFlags[4] = 0: turn on flies effect (Default)
- ItemFlags[4] = 1: Remove flies effect.
Fire Rope #
- OCB determines burn timeout, in seconds.
- The default is 5 seconds.
Swing-Pole #
The OCB determines the distance Lara will swing off the pole from both directions.
For example: OCB 505 means she will swing 5 squares from one direction, and 5 squares from the other.
You must keep the 0 in the middle.
Pushable Objects & Blocks #
Pushable objects can now be pushed over the edge with new custom animations to make the transition smoother (credit: GeckoKid)
- OCB 0: Standard behaviour.
- OCB +1: Can Fall, If added, Lara can push the pushable through border edges.
- OCB +2: Don’t Align Center, If added, Lara’ll be able to grab the pushable without the need to position Lara in the middle of the sector to interact.
- OCB +4: Is Buoyant. If added, the pushable will float to the surface when it is in a water room.
- OCB +8: Animation System, If added, Lara will use the classic TR1-TR3 push/pull animations. (Need WAD update).
- Change the OCB to a negative number to prevent the pushable from being moved.
- For example: if you require a pushable object that you could push over an edge and float in water you will do OCB 1 + 4 = 5. If you then wanted to use the classic TR1-TR3 animations: you would add 8 bringing your total OCB to 13.
Waterfall Emitter #
Unreleased
Updated 12th March 2025
Creates a particle-based waterfall effect
WATERFALL_SPRITES use:
- #o and #2: Waterfall
- #1 and #2: Mist.
Effect Customisation
- OCB = Width in clicks.
- Color is set in Tomb Editor by changing the object colour.
- The higher the density value, the thinner the waterfall, and lower values make a thicker waterfall.
- Waterfalls with a width below 5 can have a sparseness factor between 10 (very dense) and 256 (almost no sprites).
- Waterfalls with a width above 5 can have a sparseness factor between 80 (it is actually very thick, but it should not be below 80 because of lag) and 256 (low density)
ItemFlag[0]: Adjust x and z velocity (default: 100)ItemFlag[1]: Adjust waterfall sprite scale (default: 3)ItemFlag[2]: Adjust the density of the waterfall (default: 120)ItemFlag[3]: Adjust waterfall mist sprite scale (default: 3)ItemFlag[4]: Turns default sound (ID 79: TR4_WATERFALL_LOOP) on or off (0 = ON, 1 = OFF)
Waterfall can be moved, and rotated for some superb effects.
Waterfall Mist #
- OCB xx yy where
xxin width, andyyis sprite size. - Example: 1050 would make the mist appear for the width of a sector and a medium-sized sprite.
Winston (Lara’s Butler) #
- OCB 0: Butler mode. Will continually follow Lara in an attempt to server her with tea.
- OCB 1: Target practice mode. Lara will use Winston for target practice.
- In order to swap between the two versions: you must use
MESHSWAP_ARMY_WINSTON_OUTFITand swap the meshes if the OCB is 1. Feel free to use the below code to do this in-game:
- In order to swap between the two versions: you must use
You must use the provided version linked below. The animations from the TR2 and TR3 version of Winston have been combined.
-- Function to swap Winston to Army meshes
local function WinstonToArmyMeshswap(winstonNormal, winstonNormalOCB)
    local numMeshes = 26 -- Total number of meshes to swap
    local winstonArmyID = 1120 -- Object ID number

    if winstonNormalOCB == 1 then
        for i = 0, numMeshes - 1 do
            winstonNormal:SwapMesh(i, winstonArmyID, i)
        end
    end
end

-- Function to swap Army to Winston meshes
local function ArmyToWinston(winstonNormal, winstonNormalOCB)
    local numMeshes = 26 -- Total number of meshes to swap
    local winstonNormalID = 298 -- Object ID number

    if winstonNormalOCB == 0 then
        for i = 0, numMeshes - 1 do
            winstonNormal:SwapMesh(i, winstonNormalID, i)
        end
    end
end

LevelFuncs.OnLoop = function()
    local winstonNormal = GetMoveableByName("WINSTON")
    local winstonNormalOCB = winstonNormal:GetOCB()

    if winstonNormalOCB == 1 then
        WinstonToArmyMeshswap(winstonNormal, winstonNormalOCB)
    elseif winstonNormalOCB == 0 then
        ArmyToWinston(winstonNormal, winstonNormalOCB)
    end
end

--code: Stranger1992, 23/03/24
Traps #
Crumbling Platform #
- OCB = 0: Default behaviour. The platform will start to shake when Lara steps on and will crumble for 1.2 seconds (35 frames) and then fall.
- OCB = crumble length (in frames): The platform will start to shake when Lara steps and will crumble during the number of frames indicated in the OCB.
- A positive number will crumble automatically
- A negative number will require a trigger.
- ItemFlags[0]: Delay in frame time.
- ItemFlags[1]: Fall velocity.
Dart #
- Can be freely rotated and positioned in Tomb Editor. Now uses a 3D mesh for the dart instead of a sprite and fires towards the pointed end of the nullmesh.
- OCB 0: Does damage only.
- OCB -1: Does damage and poisons Lara.
Electric Ball #
The Electric Ball is a trap object in TombEngine. It attacks Lara with lightning arcs and can target Impact Points.
Configure its behavior using ItemFlags and OCB.
Placement
- Electric Ball object: Place
ID_ELECTRIC_BALLin the desired room. - Impact points (optional): Add one or more
ID_ELECTRIC_BALL_IMPACT_POINTobjects in the same room. - OCB matching: Set Impact Point OCB to match the Electric Ball’s OCB so they link correctly.
ItemFlags Reference
- ItemFlags[0] – Switch-off distance (default 7 blocks). Powers down if Lara/targets are farther than this.
- ItemFlags[1] – Attack distance (default 3 blocks). Attacks Lara if she is within this range and line of sight is clear.
- ItemFlags[2] – Target type or ID. Idle (None), Lara (Target), or chosen impact point index.
- ItemFlags[3] – Attack cooldown timer (~70). Higher = longer delay between lightning cycles; lower = faster.
- ItemFlags[4] – Glow/visual intensity timer (~70). Controls how long sparks, smoke, and glow effects persist.
- ItemFlags[5] – Target entity index. Auto-set to Lara’s index or selected impact point.
- ItemFlags[6] – Damage ticks (default 20). Each tick applies 40 HP damage if Lara is exposed.
Setup Instructions
- Place
ID_ELECTRIC_BALLin the target room. - (Optional) Add Impact Points with matching OCB values.
- Set ItemFlags[0] for switch-off distance.
- Set ItemFlags[1] for Lara attack distance.
- Lower ItemFlags[3] to reduce time between attacks.
- Lower ItemFlags[4] to shorten glow/smoke duration.
- Lower ItemFlags[6] to reduce sustained damage per cycle.
- Test in-game and adjust values until attack frequency and intensity feel balanced.
Example Configurations
Standard Ball
ItemFlags[0] = 7;   // switch-off distance
ItemFlags[1] = 3;   // attack distance
ItemFlags[3] = 70;  // cooldown
ItemFlags[4] = 70;  // glow decay
ItemFlags[6] = 20;  // damage ticks
Fast-Attack Ball
ItemFlags[0] = 7;   // switch-off distance
ItemFlags[1] = 3;   // attack distance
ItemFlags[3] = 40;  // shorter cooldown
ItemFlags[4] = 60;  // faster glow decay
ItemFlags[6] = 10;  // fewer damage ticks
Tips
- Reduce ItemFlags[3] to shorten cooldown between attacks.
- Reduce ItemFlags[6] for shorter bursts of damage.
- Use OCB linking to connect Electric Balls with Impact Points.
- Always test values in-game to balance difficulty.
Electric Cables #
- If touched, it will instantly kill the player.
- Placing in a water room will turn the water deadly and rapidly reduce the player’s health if player enters the body of water.
Ember Emitter #
- Positive OCB = Lava spitting effect from TR1 and TR2. The effect is harmful to Lara.
- Choose the colour of the effect via object tint in Tomb Editor.
- Choosing a 100% black value (RGB 0,0,0) will result in a subtractive blending mode and appear black.
- Can change the effect size by increasing OCB value. For example: OCB 20 will be 2.0 sectors wide.
- A negative OCB that creates a lava spitting effect in the Ireland Labyrinth level of TR5. The effect can damage Lara if she gets too close. The OCB value determines the size of the effect. (The default value is 31 in TR5)
Explosion #
The effect of the explosion is a formula:
- Add 0-99 to OCB for delay (quarter seconds)
- Add 100-900 to OCB for size (1-9)
- Add 400 to make the explosion deadly.
- Add 10000 to OCB for green explosion.
- Add 1000 to OCB for blast wave ( 0 or 1)
The explosion object itself is not rendered in-game. The video included uses OCB 1400.
Fire Pendulum #
The swinging fire pendulum from Tomb Raider III, as seen in “The Lost City of Tinnos” level.
ItemFlags() are used to change the flame colour and the mesh the fire appears on:
ItemFlags[0]: Red flame valueItemFlags[1]: Green flame valueItemFlags[2]: Blue flame valueItemFlags[3]: Mesh number.
Player will be set alight if they touch this item. The flame colour will be the same as the pendulum.
Fish Emitter #
- You can add multiple versions of fish by adding a mesh in the skeleton editor inside Wadtool. The fish uses the meshes from the FISH_EMITTER object. Mesh 0 should be a common nullmesh.
- You can set the amount of fish by using a volume in Tomb Editor to change the Hit Points of the FISH_EMITTER.
- You must change the OCB as it cannot be 0.
- Positive OCB + mesh number: friendly fish
- Negative OCB + mesh number: deadly fish
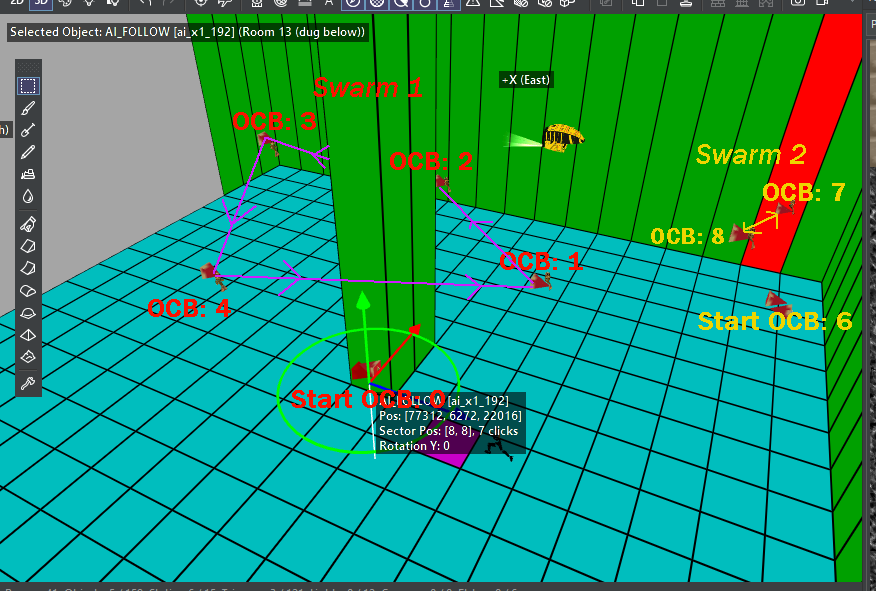
- You can make the fish patrol between AI_FOLLOW objects:
- A path can have any number of AI_FOLLOW objects, but it needs at least 3. The first AI_FOLLOW object should be on the start square of the FISH_EMITTER, and it should have the first OCB value. The fish will swim from there to the next two AI_FOLLOW objects in the path. The last AI_FOLLOW object in the path should have the last OCB value. Then, the fish will swim back to the first valid AI_FOLLOW object after the start square (the one with the first OCB value).
- To create a different path for another school of fish, you need to skip an OCB number between the last OCB of the previous path and the first OCB of the new path. This way, the engine can distinguish which numbers belong to which swarm. The first AI_FOLLOW (the one on the same square as the FISH_EMITER) is not part of the patrolling, but it also requires an OCB. If you omit an AI_FOLLOW object on the fish emitter square, the fish will follow a random target within a solid spheroid inside the water room.
- In the above example: Between the last ocb (4) and start of the new path (OCB 6) has to be a gap (no object with OCB 5) so that the engine knows there are 2 different paths.
- If a CORPSE object is in the water, then the fish will be distracted and feast on that, rather than the player.
Flame Emitter 1 #
- Can be freely rotated in Tomb Editor.
- Use OCB -2 for a constant jet flame
- Legacy OCB still work.
Flame Emitter 2 #
- OCB 1: Small flame (does not burn Lara)
- OCB 2: Small flame moving slowly along the floor in the direction of the cone and will go up and down slopes. The flame will produce a bright flash and extinguish on contact with water.
- OCB 4: tiny flame (perfect for candles).
- OCB 123: small flame in the centre of the tile.
Flame Emitter 3 #
- OCB 1: small blue electric arc.
- OCB 2: blue electric arc from point of the cone.
- OCB 3: large electric arc projecting holograph
- OCB 888: Big ball of lightning that follows Lara.
Hammer (TR4) #
- OCB 0: It does not animate but will cause Lara damage if collided.
- OCB 2: Hardcoded Obelisk set up.
- OCB 3: Triggers once, then raises up and stays there.
- OCB 4: Works like OCB 3 but will not stop. So once triggered will continuously raise, smackdown, raise up and then loop every two seconds.
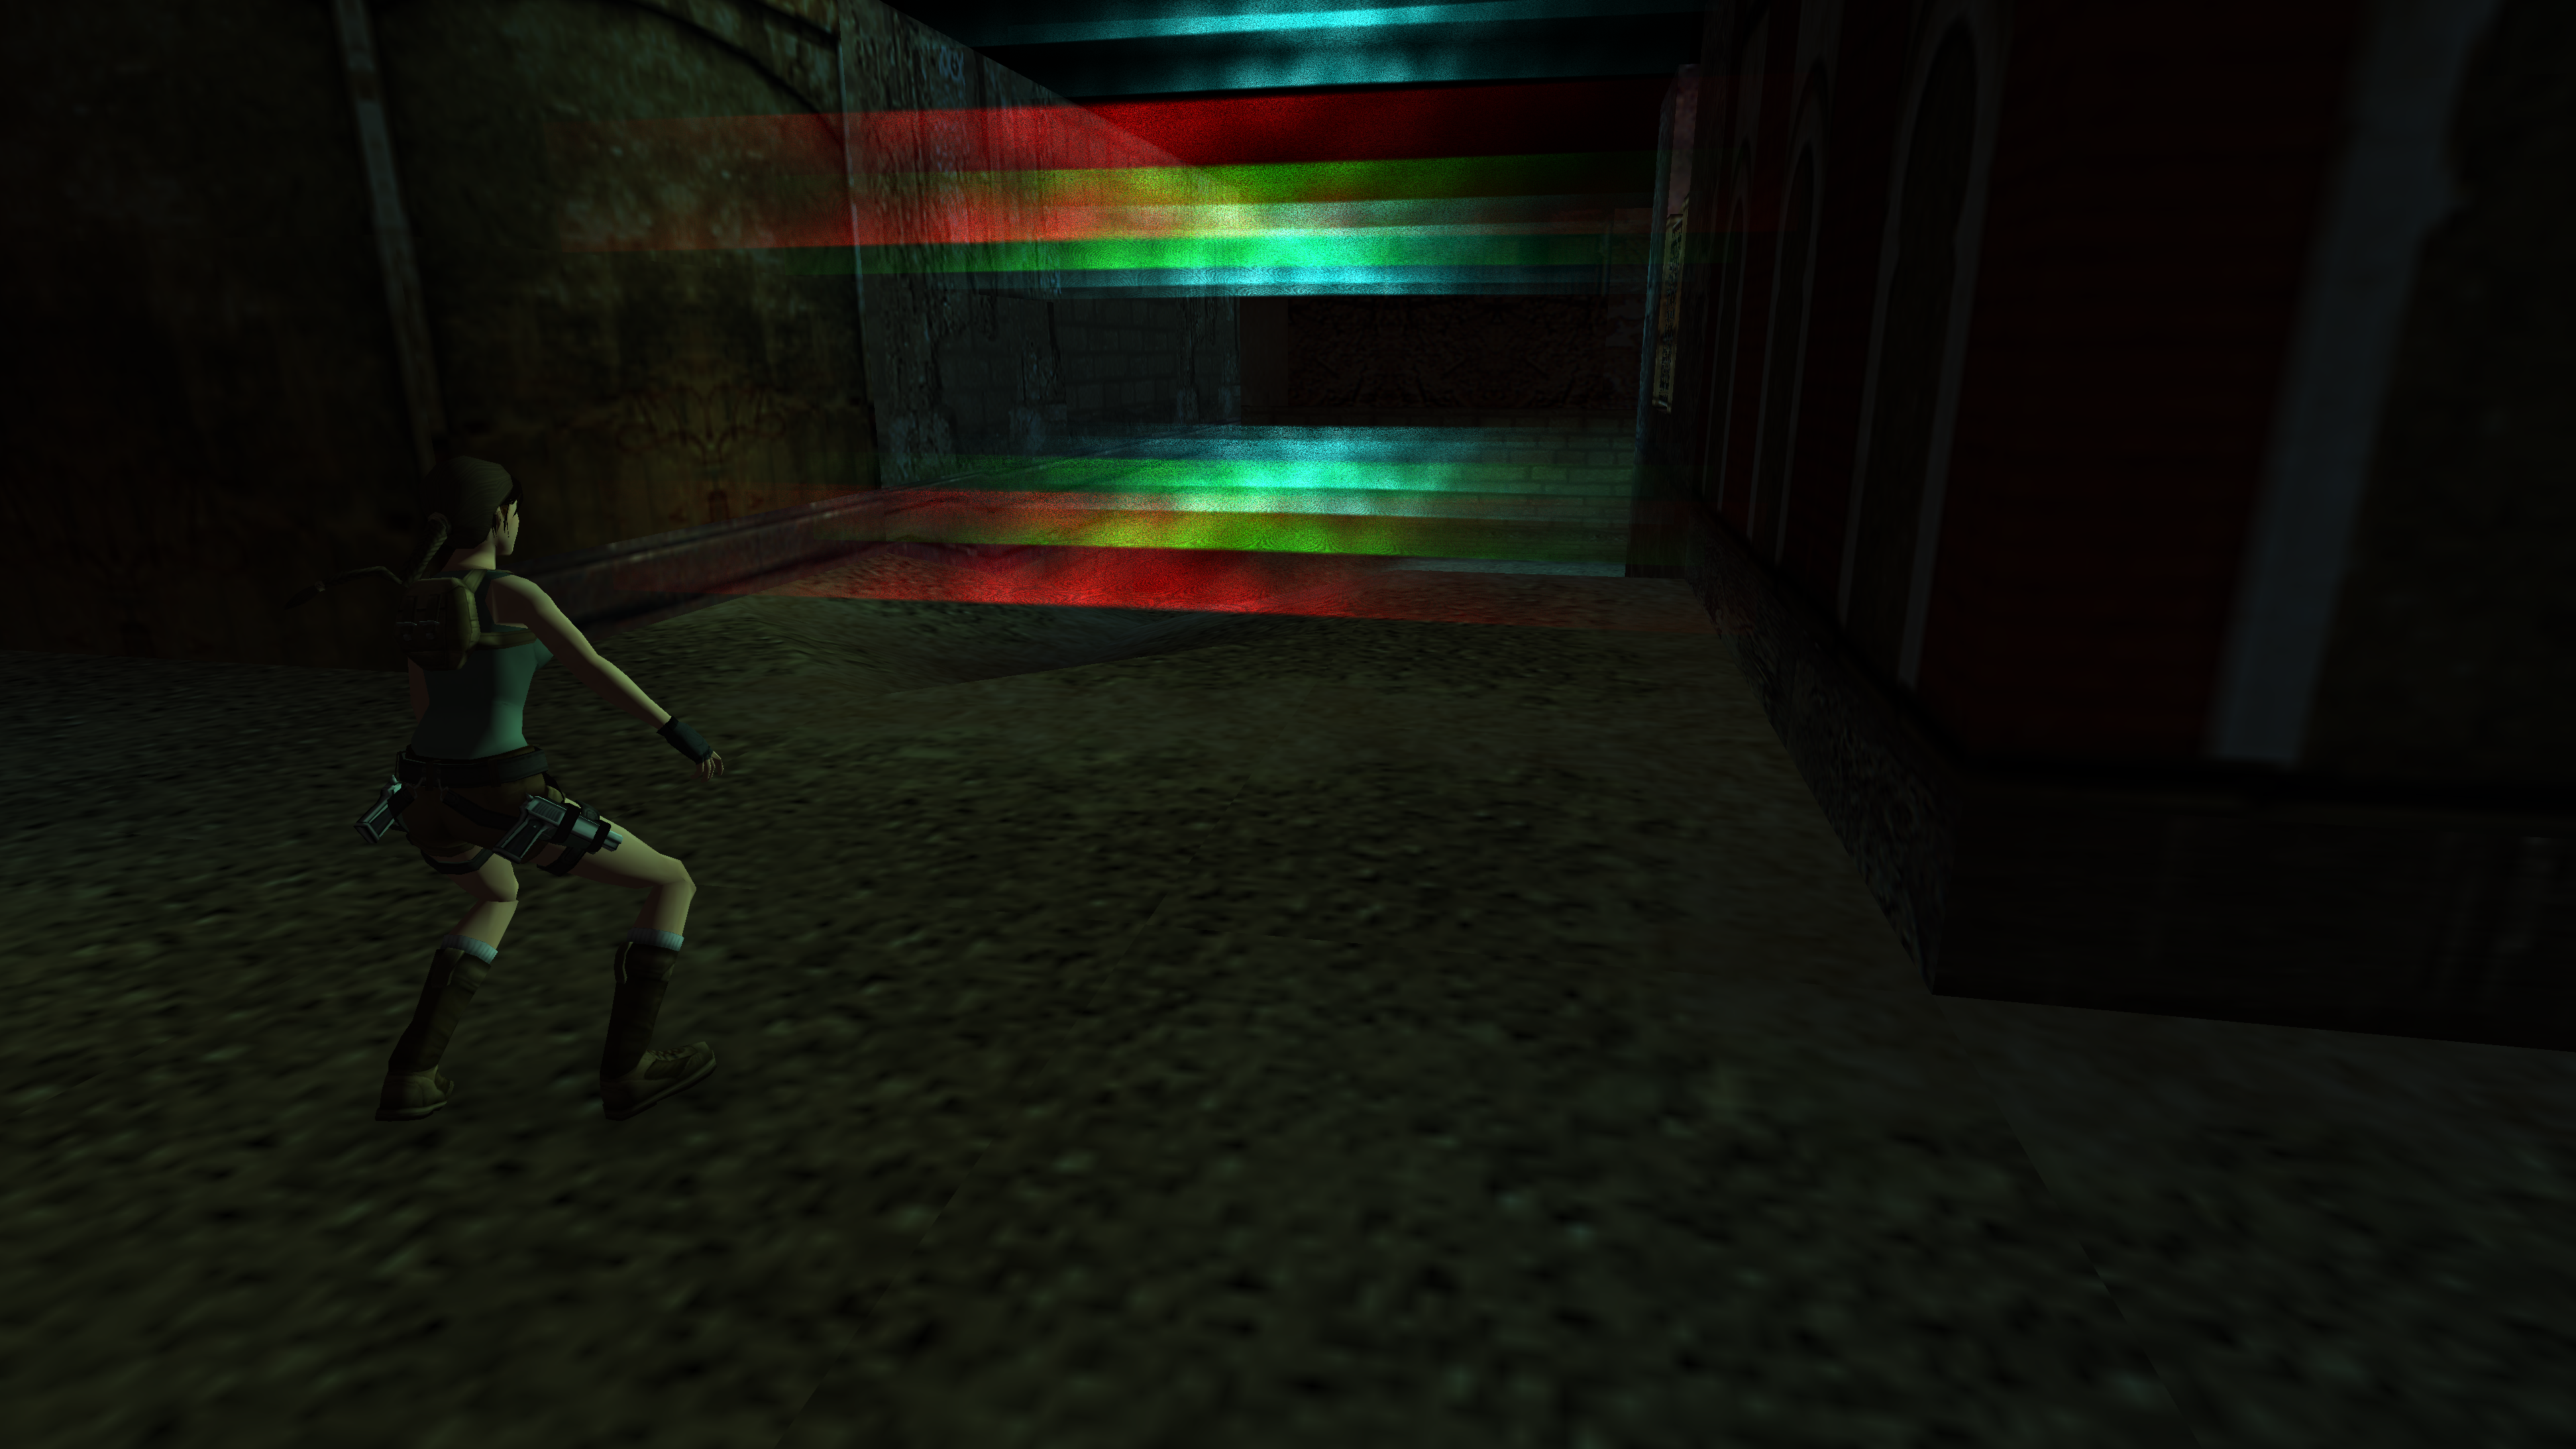
Laser Barrier #
- The colour of the laser is chosen in Tomb Editor by changing the object tint.
- The room height decides laser height.
- OCB value indicates how wide the laser will be. Ie: OCB 7 will mean it will be 7 sectors across.
- Negative OCB: triggers heavy trigger and can be crossed without causing damage to the player
- Positive OCB: Fatal to the player if crossed.
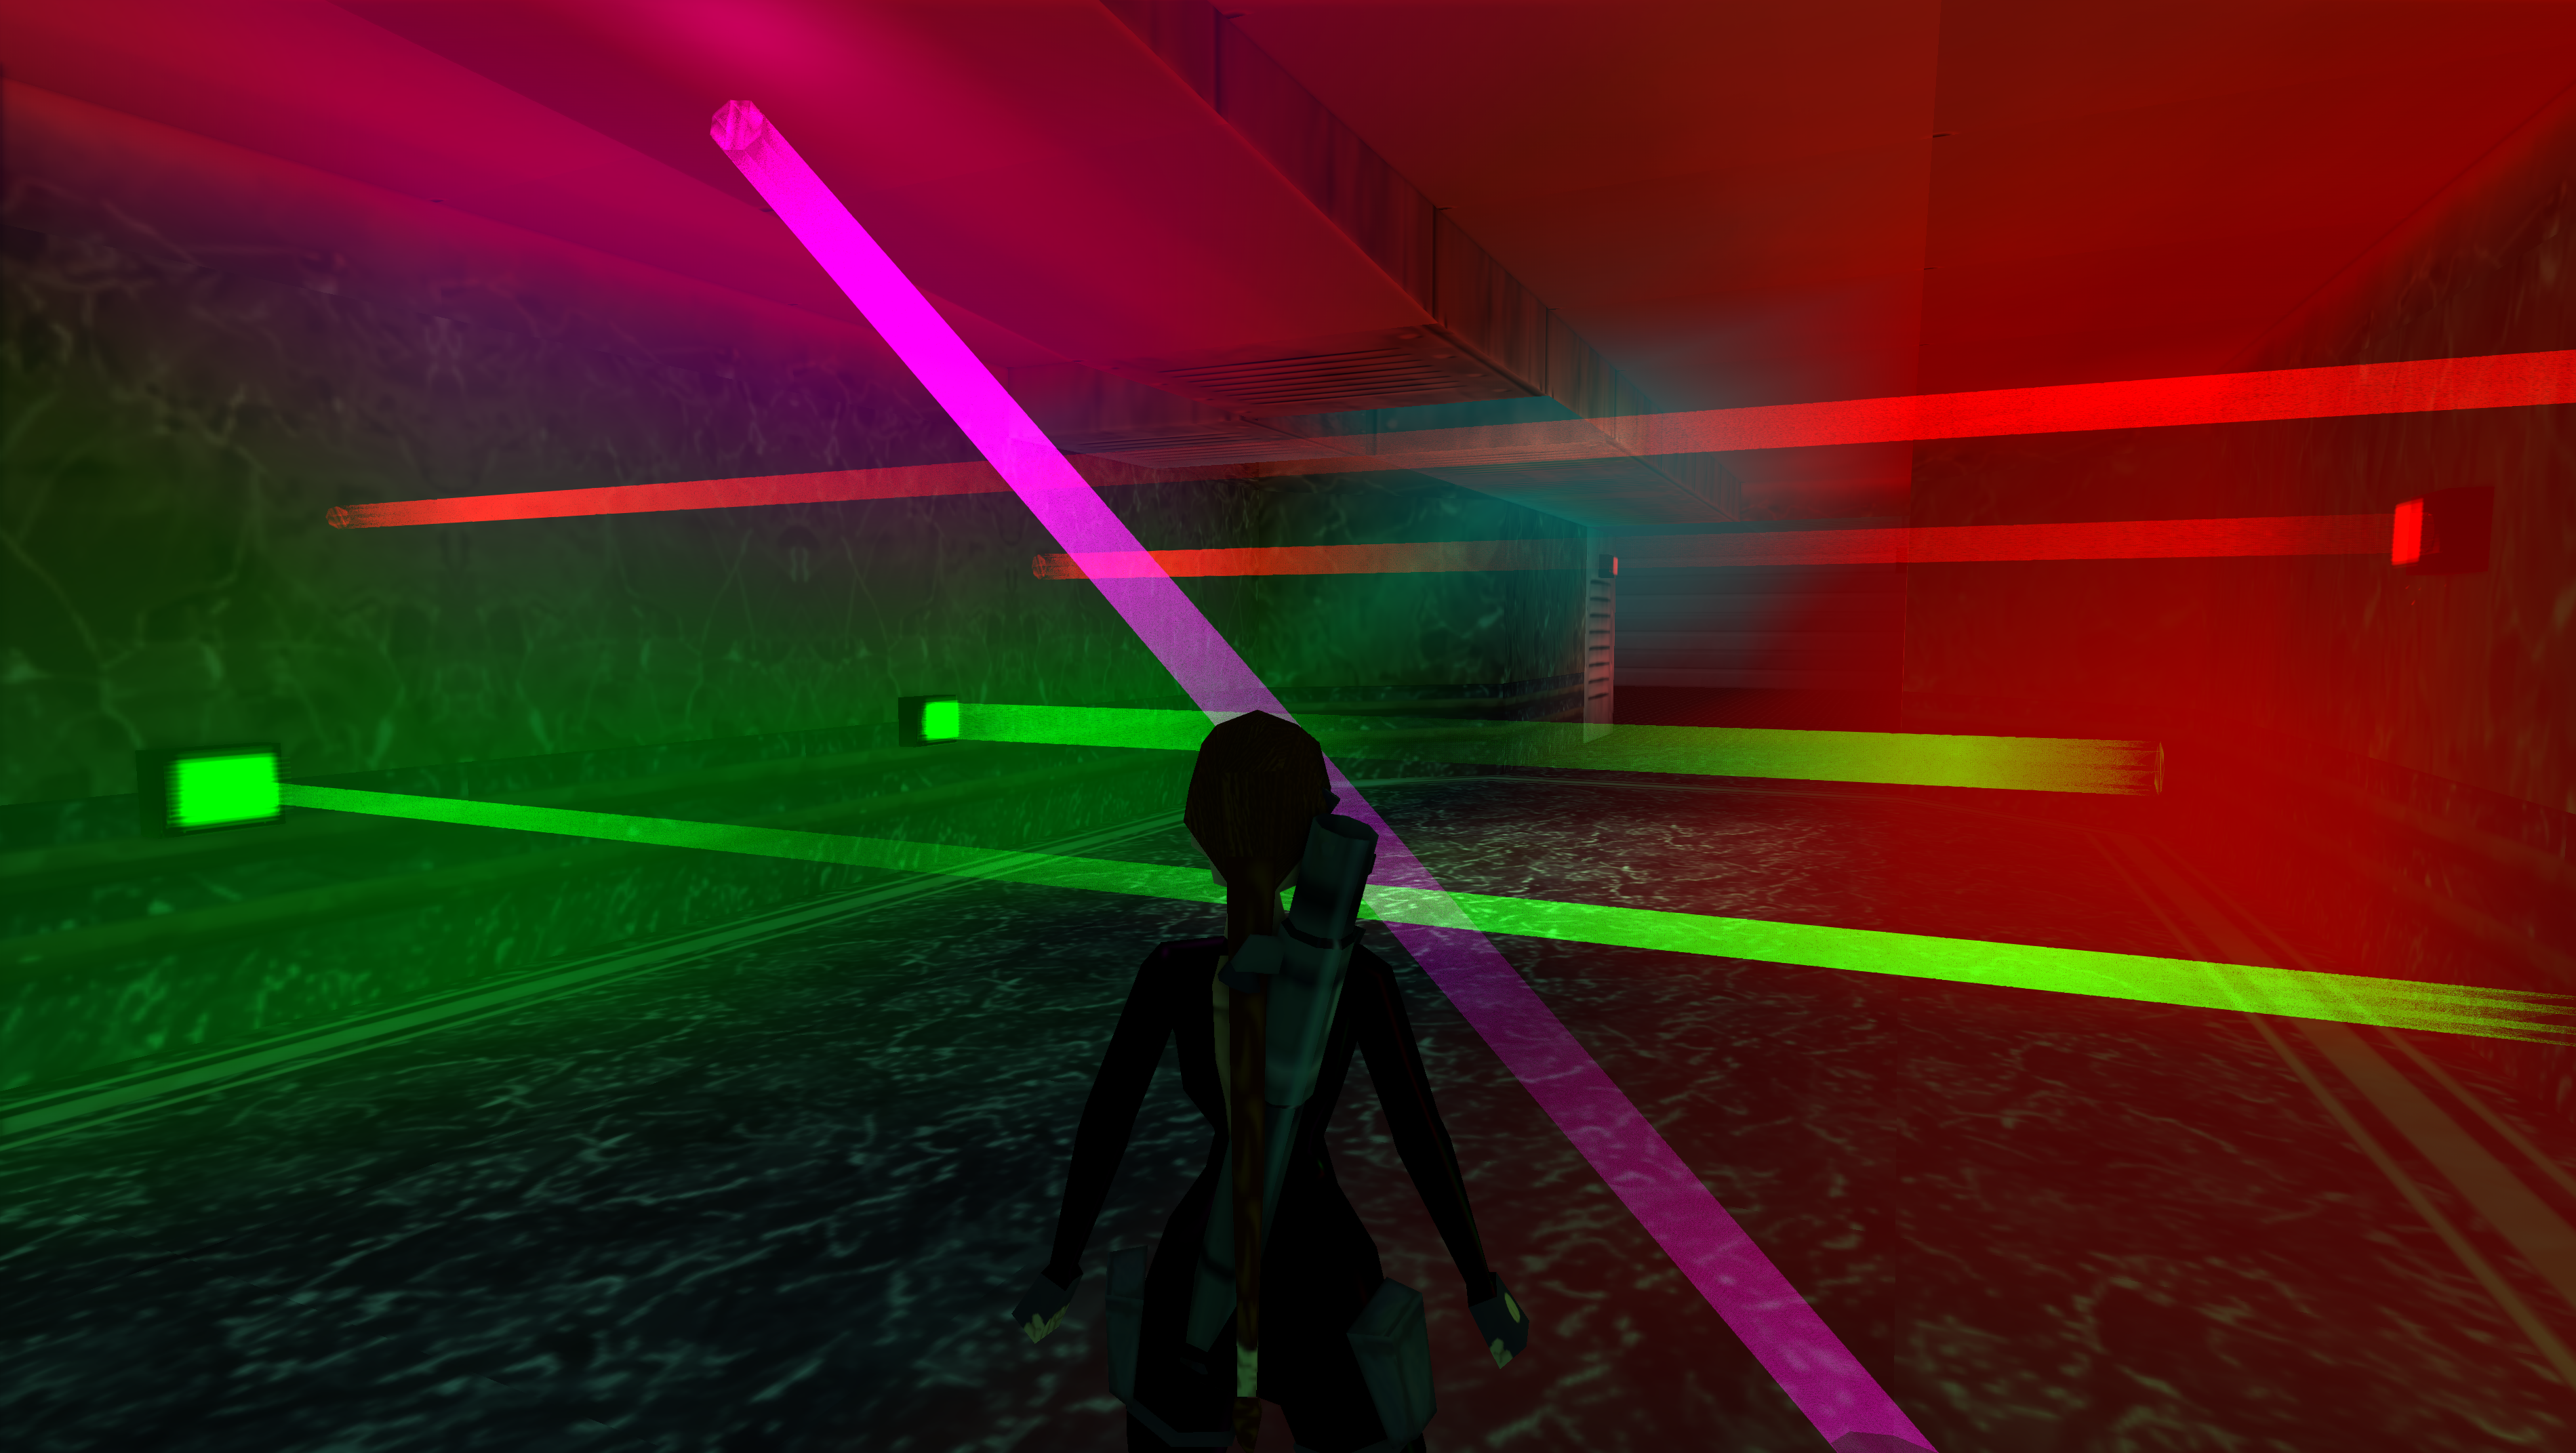
Laser Beam #
- Positive OCB = lethal
- Negative OCB = not lethal (activates trigger)
- The colour of the laser is chosen in Tomb Editor by changing the object tint.
- Laser thickness = OCB value. (For tripwire use OCB 1)
- Can be freely rotated in Tomb Editor
- If you are using a volume: you must set the activator type as “other”
Moving Laser #
Unreleased
- OCB 0: Object does not move. It can be used attached to flyby paths.
- OCB > 0: Distance in Blocks.
- ItemFlag[0] to set the speed. The default is 10.
- It can be freely rotated to travel in all directions.
Rollingball #
- OCB 1: Rollingball silent mode: No camera shake or sound.
Spiky Ceiling #
- Can be any size or shape.
- OCB = speed (default 5)
- Negative OCB: travels up.
- Positive OCB: travels down.
- The speed can also be changed via Lua:
Moveable::SetItemFlags[0]
Spiky Wall #
- OCB number = speed
- positive OCB : travels along the positive X axis.
- Negative OCB – travels along the negative X axis.
Squishy Block 1 #
The squishy block is a block that will move side-to-side and crush Lara.
- OCB 0: Default behaviour.
- OCB 1-300: Sets speed of the block.
- Will travel between walls so to contain you must use WALL segments.
- The direction of travel is set by rotating object in Tomb Editor
Squishy Block 2 #
The second version of this is a block that will fall to the ceiling and crush Lara on the floor.
Teeth Spikes #
- Can be freely rotated inside Tomb Editor.
- Restored original impaling animation as seen in TR1-TR3.
- OCB 0: Triggered once, sticking out constantly.
- OCB 1: Spikes stuck out constantly.
- OCB 2: Stick out once and retract forever.
- OCB 3: OCB specifies spikes retraction delay in frames, i.e. OCB 30 = spikes will delay for 1 second, OCB 60 = 2 seconds, etc
- Damage from teeth spikes is now dependent on the object’s collision.
Thor’s Hammer (TR1) #
Unreleased
Consists of two objects: THOR_HAMMER_HANDLE and THOR_HAMMER_HEAD.
- OCB 0: Default TR1 behaviour. Requires anti triggers to cancel the fall around the object.
- OCB 1: Retract after crashing once.
- OCB 2: Continuous crashing until Anti Triggered or Switch Off
- Negative OCB: Cartoonish flattened player effect…
Wraith Trap #
New object in place of the hardcoded Animating from TR4. Used to trap the Wraith entity.
- OCB 0: Original TR4 effect
- OCB 1: Enhanced effect where the wraith is pulled into the trap.
Vehicles #
Jeep #
- The vehicle no longer requires a key to operate and can be used like any other vehicle.
- Improved handling and collision handling.
- It can be driven into 2-click deep water. Previously was 1 click.
- New graphic elements were added for water wakes and ripples if driven in shallow water.
Kayak #
- If you wish to create a drowning effect as seen in Tomb Raider III, you need to assign a “water” footstep sound to the texture and attach a death flag to the specific sectors where you want Lara to drown. To gain more insight on this process, refer to this tutorial available HERE.
- New graphic elements were added for water wakes and ripples.
Minecart #
- The animating object used as the switch has been replaced with a dedicated
Minecart_Switchobject. To use this: place aHEAVYtrigger underneath the switch and it will trigger this when it is hit with the wrench if Lara is riding in the minecart. - New graphic elements were added for water wakes and ripples if rode through shallow water.
- New spark effects are added when braking harshly.
Motorbike #
- Improved dynamic light on the front of the bike.
- Improved handling and collision handling.
- Does not currently support the nitrogen dioxide boost.
Speedboat & Rubberboat #
- New graphic elements were added for water wakes and ripple on the top of the water’s surface.
Underwater Propulsion Vehicle (UPV) #
- Restored dynamic light.
- Bubble effects when in use.
- Can fire harpoons as shown in Tomb Raider III.
- Improved handling and unified controls.